Create an Industry-leading
Manufacturer of Premium Quality
SPA Hot Tub
Manufacturer of Premium Quality
SPA Hot Tub


| Availability: | |
|---|---|
| Quantity: | |
Toronto-plus
JOYEE
Outdoor Garden Luxury Large Ozone Pool | Piscine Training Spa - JOYEE


Filling your hot tub is quick and easy – In fact, you’ll be up and running before you know it. We’ve given you the step-by-step instructions below, but if at any time you have difficulty installing your hot tub or have a question, don’t hesitate to contact our customer service/tech service team.
1. PREPARE YOUR FOUNDATION
Place the spa on an approved surface and, if it is a 240V hot tub, have it properly wired by a licensed electrician. The GFCI should remain OFF until Step 7.
2. REMOVE EXTERIOR PANELS
Depending on model, remove screws that hold the side panels in place or open the access door.
3. CHECK THE UNIONS
Make sure white plumbing unions are secure and did not loosen during shipping. There will be 4 unions on a 1-pump spa and 6 unions on a 2-pump spa. Hand-tighten any loose unions.
4. OPEN THE GATE VALVES
Open all gate valves in the equipment area. Before operation, these valves must be in the UP/OPEN position and have plastic clips inserted. Never run the spa with the gate valves closed or without water circulating for any period of time.
5. REMOVE THE FILTERS
Remove the filter(s) (and weir and basket, if equipped) from the filter chamber.
6. FILL YOUR SPA
Insert a garden hose into the hole in the filter chamber to avoid air locks. Use cold water and fill the hot tub to a level of about 2 inches above the highest jet.
7. POWER ON THE GFCI
Once the water is at the correct level, turn on the power at the GFCI breaker. When the power is turned on, the controls will perform a diagnostic check for a few minutes. When complete, the spa will automatically operate at filter speed and continue heating until water reaches 100ºF.
8. CHECK THE PUMPS
Press Pump 1. If water does not flow from the jets when the pump is running, there could be an air lock. See the “Priming the Pump” section below for methods of removing air pockets from the pump(s).
9. INSTALL THE FILTERS
Install the filter(s) (and weir and basket, if equipped) into the filter chamber.
10. PRIMING THE PUMP
Sometimes air can become trapped in the pump while filling the hot tub. You will know this has happened when after filling and starting the spa, the pump does not function. You will hear the pump operating, but no water will be moving. DO NOT continue to operate the pump this way or it will cause damage to the spa. New spa owners often have difficulty the first time they start their spa and the pump fails to prime. This can be frustrating, but these simple instructions can help you.
PUMP TROUBLESHOOTING
REMOVING TRAPPED AIR BUBBLES
Turn the spa on and wait for PR (Priming Mode) to appear on the topside display.
Press the JETS1 button to turn on the pump, then let it run for 10 seconds. The pump should be running on low speed.
Press the JETS1 buttons again and let the pump run on high speed for 10 seconds.
Press the JETS1 button again to turn off the pump. The pump should be left in the off position for 10 to 15 seconds.
Repeat steps 1 through 4 until water is flowing through all the jets and all the air is removed from the plumbing.
PUMP TROUBLESHOOTING
REMOVING A LARGE AIR LOCK
Turn the spa on and wait for PR (Priming Mode) to appear on the topside display.
Turn off power at the breaker.
Remove the hot tub panel closest to the pump.
Loosen the white pressure union on the top of the pump by hand or with a strap wrench. When air is bled out, tighten the union, turn the breaker on and set the pump on high speed. NOTE: If you press the “Temp” button any time during Priming Mode, it will exit that mode and begin Standard Mode.
Outdoor Garden Luxury Large Ozone Pool | Piscine Training Spa - JOYEE


Filling your hot tub is quick and easy – In fact, you’ll be up and running before you know it. We’ve given you the step-by-step instructions below, but if at any time you have difficulty installing your hot tub or have a question, don’t hesitate to contact our customer service/tech service team.
1. PREPARE YOUR FOUNDATION
Place the spa on an approved surface and, if it is a 240V hot tub, have it properly wired by a licensed electrician. The GFCI should remain OFF until Step 7.
2. REMOVE EXTERIOR PANELS
Depending on model, remove screws that hold the side panels in place or open the access door.
3. CHECK THE UNIONS
Make sure white plumbing unions are secure and did not loosen during shipping. There will be 4 unions on a 1-pump spa and 6 unions on a 2-pump spa. Hand-tighten any loose unions.
4. OPEN THE GATE VALVES
Open all gate valves in the equipment area. Before operation, these valves must be in the UP/OPEN position and have plastic clips inserted. Never run the spa with the gate valves closed or without water circulating for any period of time.
5. REMOVE THE FILTERS
Remove the filter(s) (and weir and basket, if equipped) from the filter chamber.
6. FILL YOUR SPA
Insert a garden hose into the hole in the filter chamber to avoid air locks. Use cold water and fill the hot tub to a level of about 2 inches above the highest jet.
7. POWER ON THE GFCI
Once the water is at the correct level, turn on the power at the GFCI breaker. When the power is turned on, the controls will perform a diagnostic check for a few minutes. When complete, the spa will automatically operate at filter speed and continue heating until water reaches 100ºF.
8. CHECK THE PUMPS
Press Pump 1. If water does not flow from the jets when the pump is running, there could be an air lock. See the “Priming the Pump” section below for methods of removing air pockets from the pump(s).
9. INSTALL THE FILTERS
Install the filter(s) (and weir and basket, if equipped) into the filter chamber.
10. PRIMING THE PUMP
Sometimes air can become trapped in the pump while filling the hot tub. You will know this has happened when after filling and starting the spa, the pump does not function. You will hear the pump operating, but no water will be moving. DO NOT continue to operate the pump this way or it will cause damage to the spa. New spa owners often have difficulty the first time they start their spa and the pump fails to prime. This can be frustrating, but these simple instructions can help you.
PUMP TROUBLESHOOTING
REMOVING TRAPPED AIR BUBBLES
Turn the spa on and wait for PR (Priming Mode) to appear on the topside display.
Press the JETS1 button to turn on the pump, then let it run for 10 seconds. The pump should be running on low speed.
Press the JETS1 buttons again and let the pump run on high speed for 10 seconds.
Press the JETS1 button again to turn off the pump. The pump should be left in the off position for 10 to 15 seconds.
Repeat steps 1 through 4 until water is flowing through all the jets and all the air is removed from the plumbing.
PUMP TROUBLESHOOTING
REMOVING A LARGE AIR LOCK
Turn the spa on and wait for PR (Priming Mode) to appear on the topside display.
Turn off power at the breaker.
Remove the hot tub panel closest to the pump.
Loosen the white pressure union on the top of the pump by hand or with a strap wrench. When air is bled out, tighten the union, turn the breaker on and set the pump on high speed. NOTE: If you press the “Temp” button any time during Priming Mode, it will exit that mode and begin Standard Mode.
1. US Aristech Acrylic
2. US Balboa Control System
3. Control Valves and Backwater Units/Suction
4. #316 stainless steel whirlpool jets /air bubble jets (Total jets: 58 pcs)
5. LX Massage Pump
6. Hot tub insulation, ABS base, ozone, filter are included

1. US Aristech Acrylic
2. US Balboa Control System
3. Control Valves and Backwater Units/Suction
4. #316 stainless steel whirlpool jets /air bubble jets (Total jets: 58 pcs)
5. LX Massage Pump
6. Hot tub insulation, ABS base, ozone, filter are included

MODEL NO | Toronto-plus |
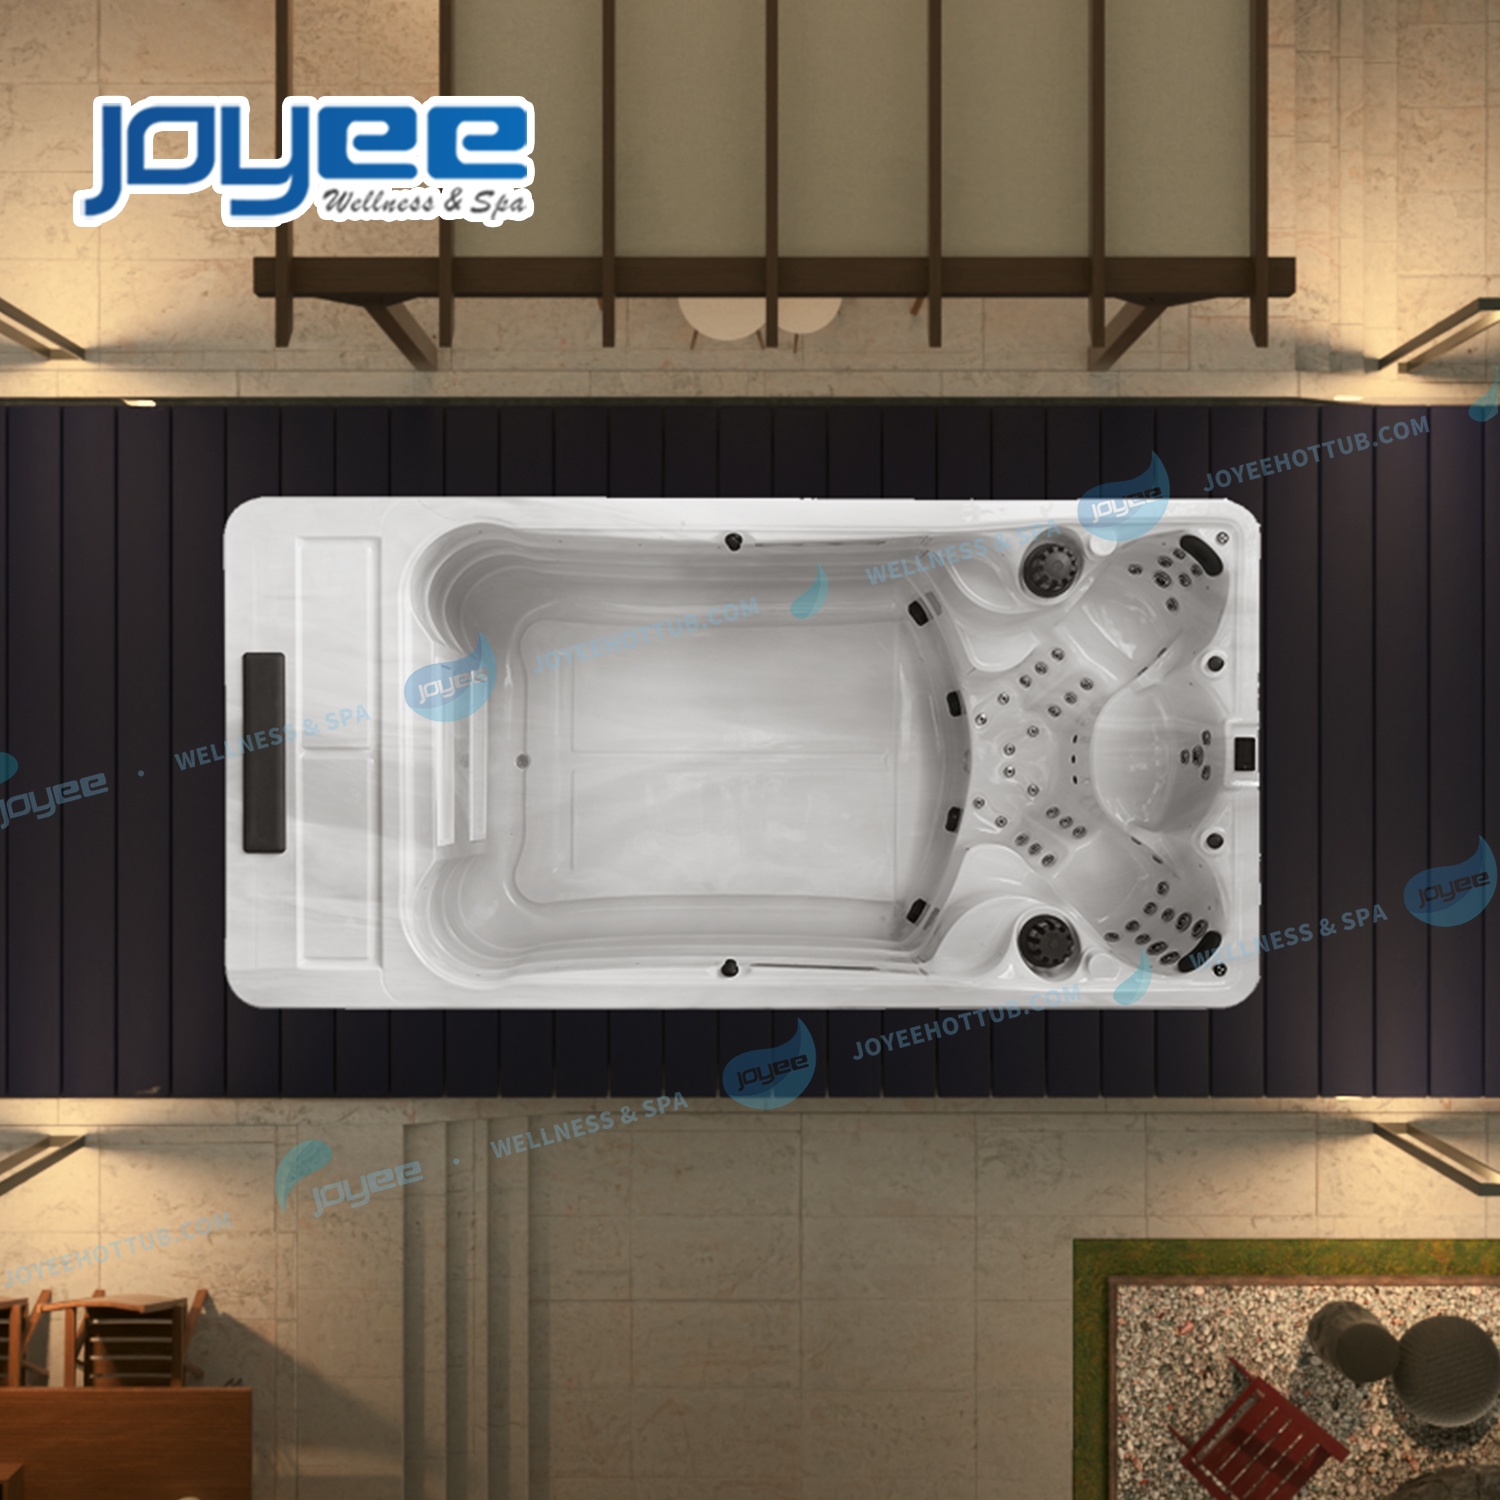
DIMENSION | 4660*2300*1550 mm |
| CAPACITY | 8 persons |
| MATERIAL | US Aristech Acrylic |
| WEIGHT | 900KG Dry weight |
CUSTOM MADE | SUPPORT |
| MINIMUM ORDER QUANTITY | 1 PIECE |
| WARRANTY | 5 YEARS |
| CERTIFICATION | CE/TUV/SAA/SASO |
| ACRYLIC | ARISTECH |
| JETS | TOTAL 58 PCS |
| CIRCULATION PUMP | 750W LX PUMP |
| HEATER | 3KW |
| SYSTEM | BALBOA&GECKO |
INSULATION | ACRYLIC:18-20MM SKIRTING: 25MM |
| ABS BOTTOM | YES |
| SUPPORT FRAME | STAINLESS STEEL |
| OZONE | YES |
Create an industry-leading manufacturer of premium quality SPA hot tub